Support for your Dyson Corrale™ straightener
Here you can find video styling guides, useful tips, your user manual and more.
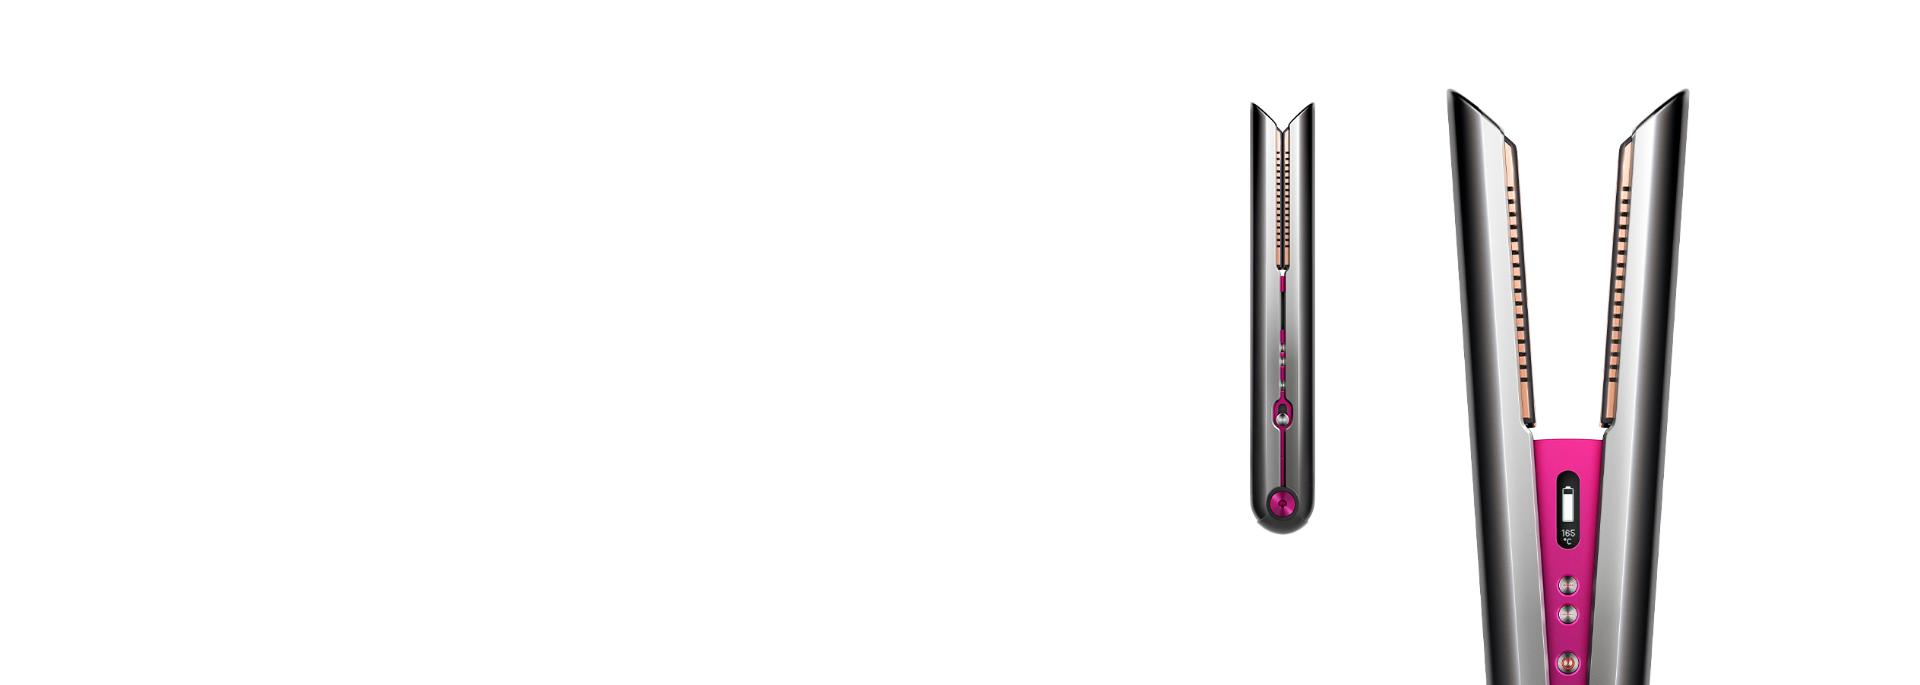
Please check whether your straightener has a two-pin or four-pin Flight-ready tag. For machines with a four-pin tag, there’s a dedicated support page that can be accessed here.

Activate your guarantee
You can get support that's tailored to you, owner exclusives and more when you register your straightener.
Getting started
Your Dyson Corrale™ straightener is engineered to be easy to use. To get started, watch our video guide or follow the steps below.
-
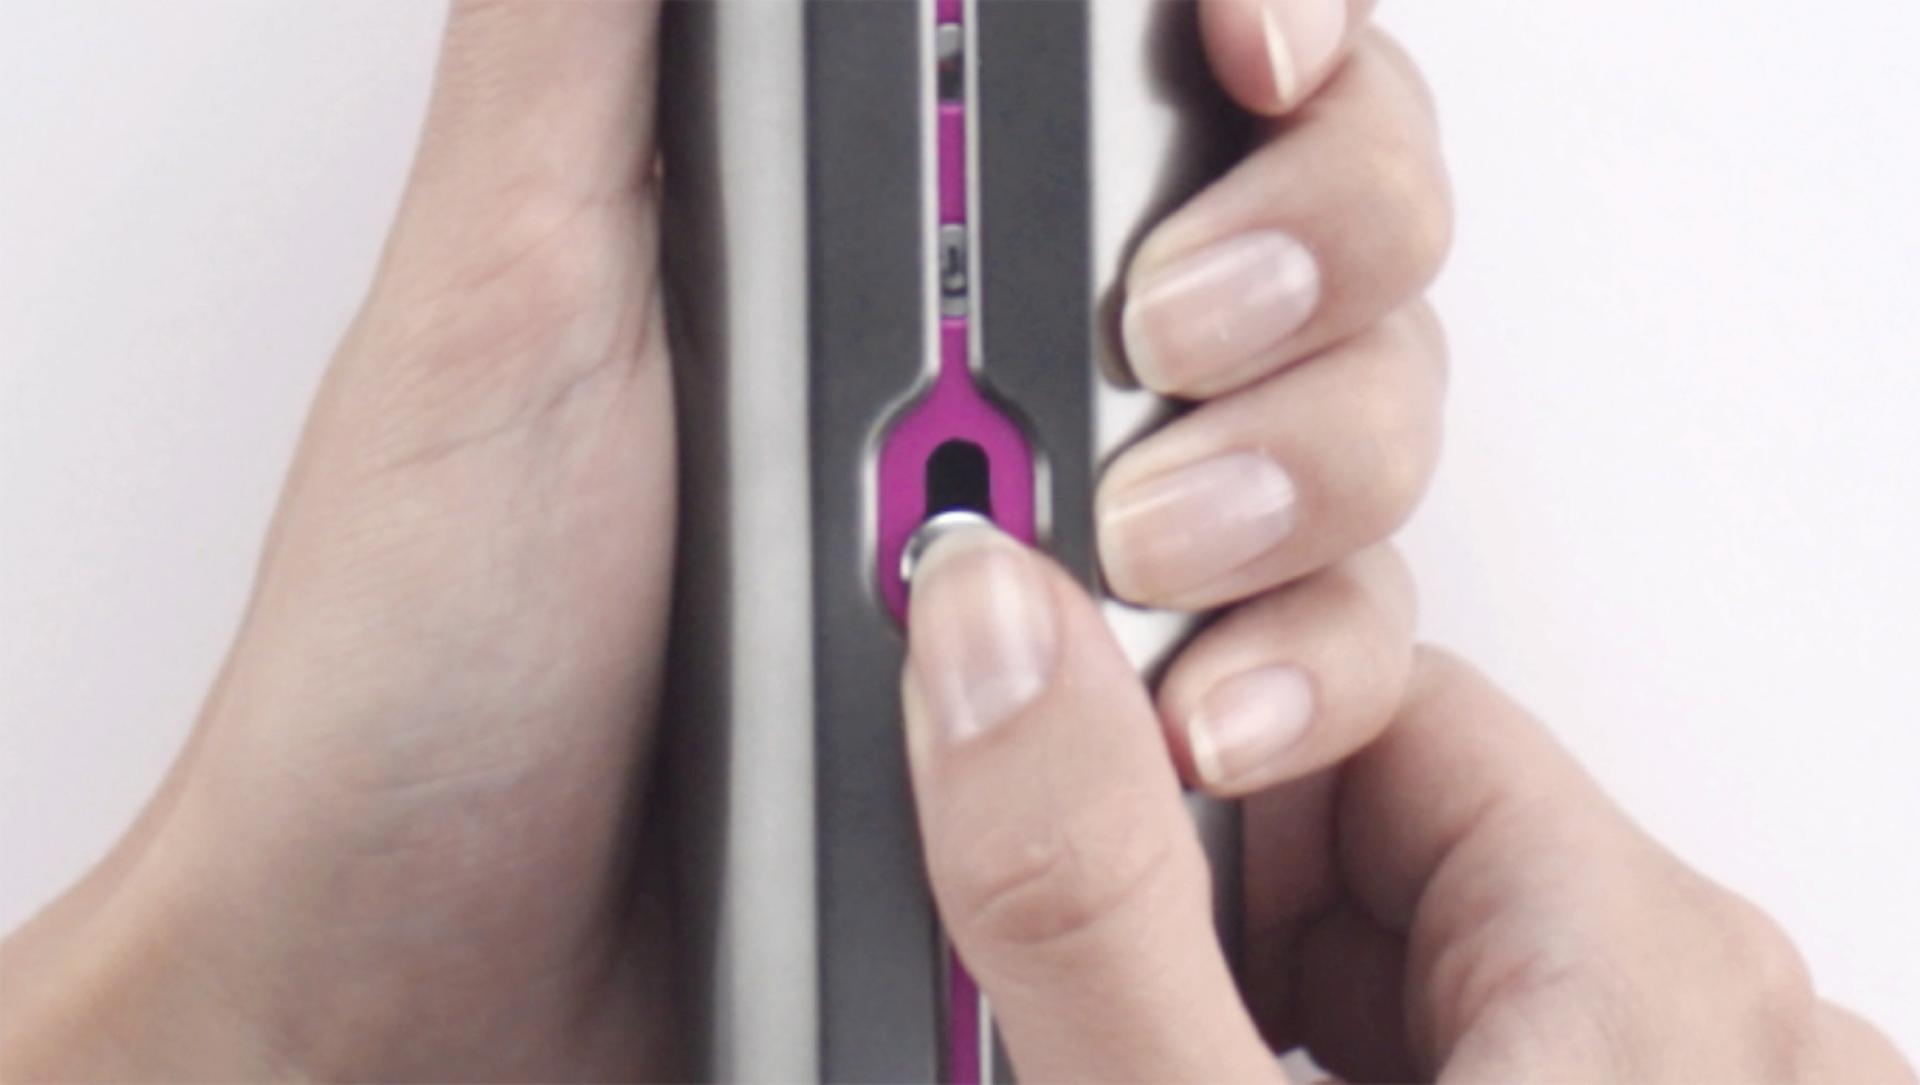
1. Unlock your straightener
Simply slide up the Lock button on the front of your straightener to open it.
-
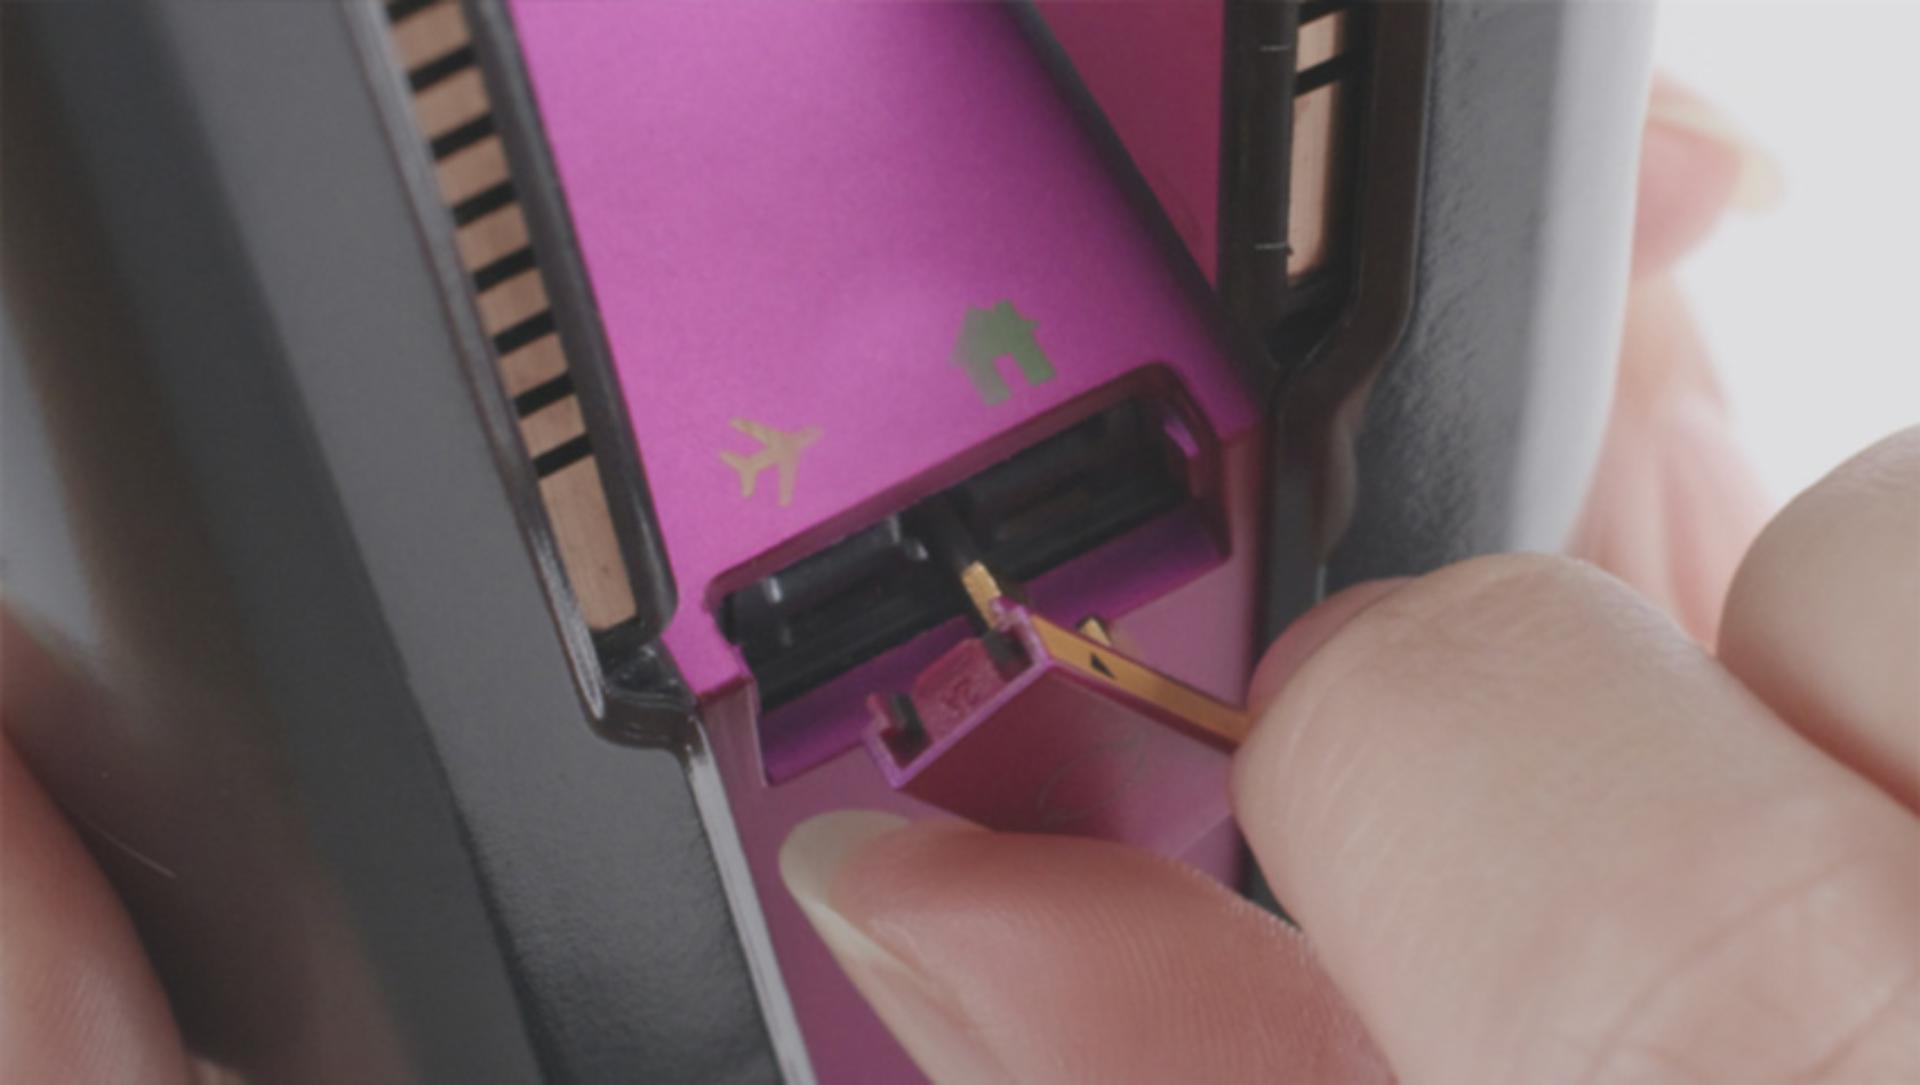
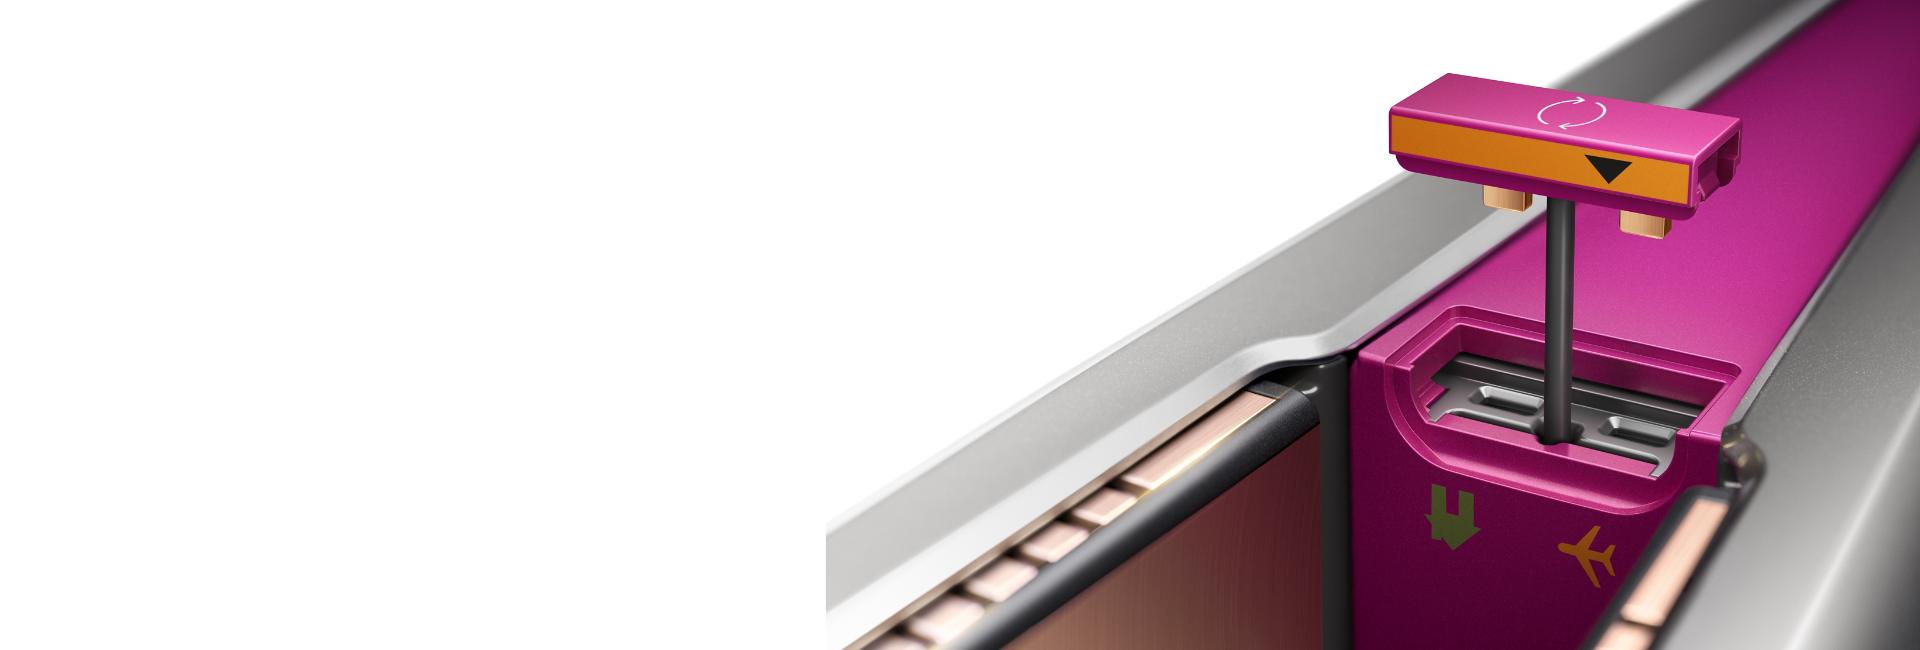
2. Dislodge, rotate and replace the Flight-ready tag
Set the black arrow on the Flight-ready tag to the Home position to enable your straightener's controls. Your tag is tethered to your straightener. If your Flight-ready tag has four pins you can access support here.
-
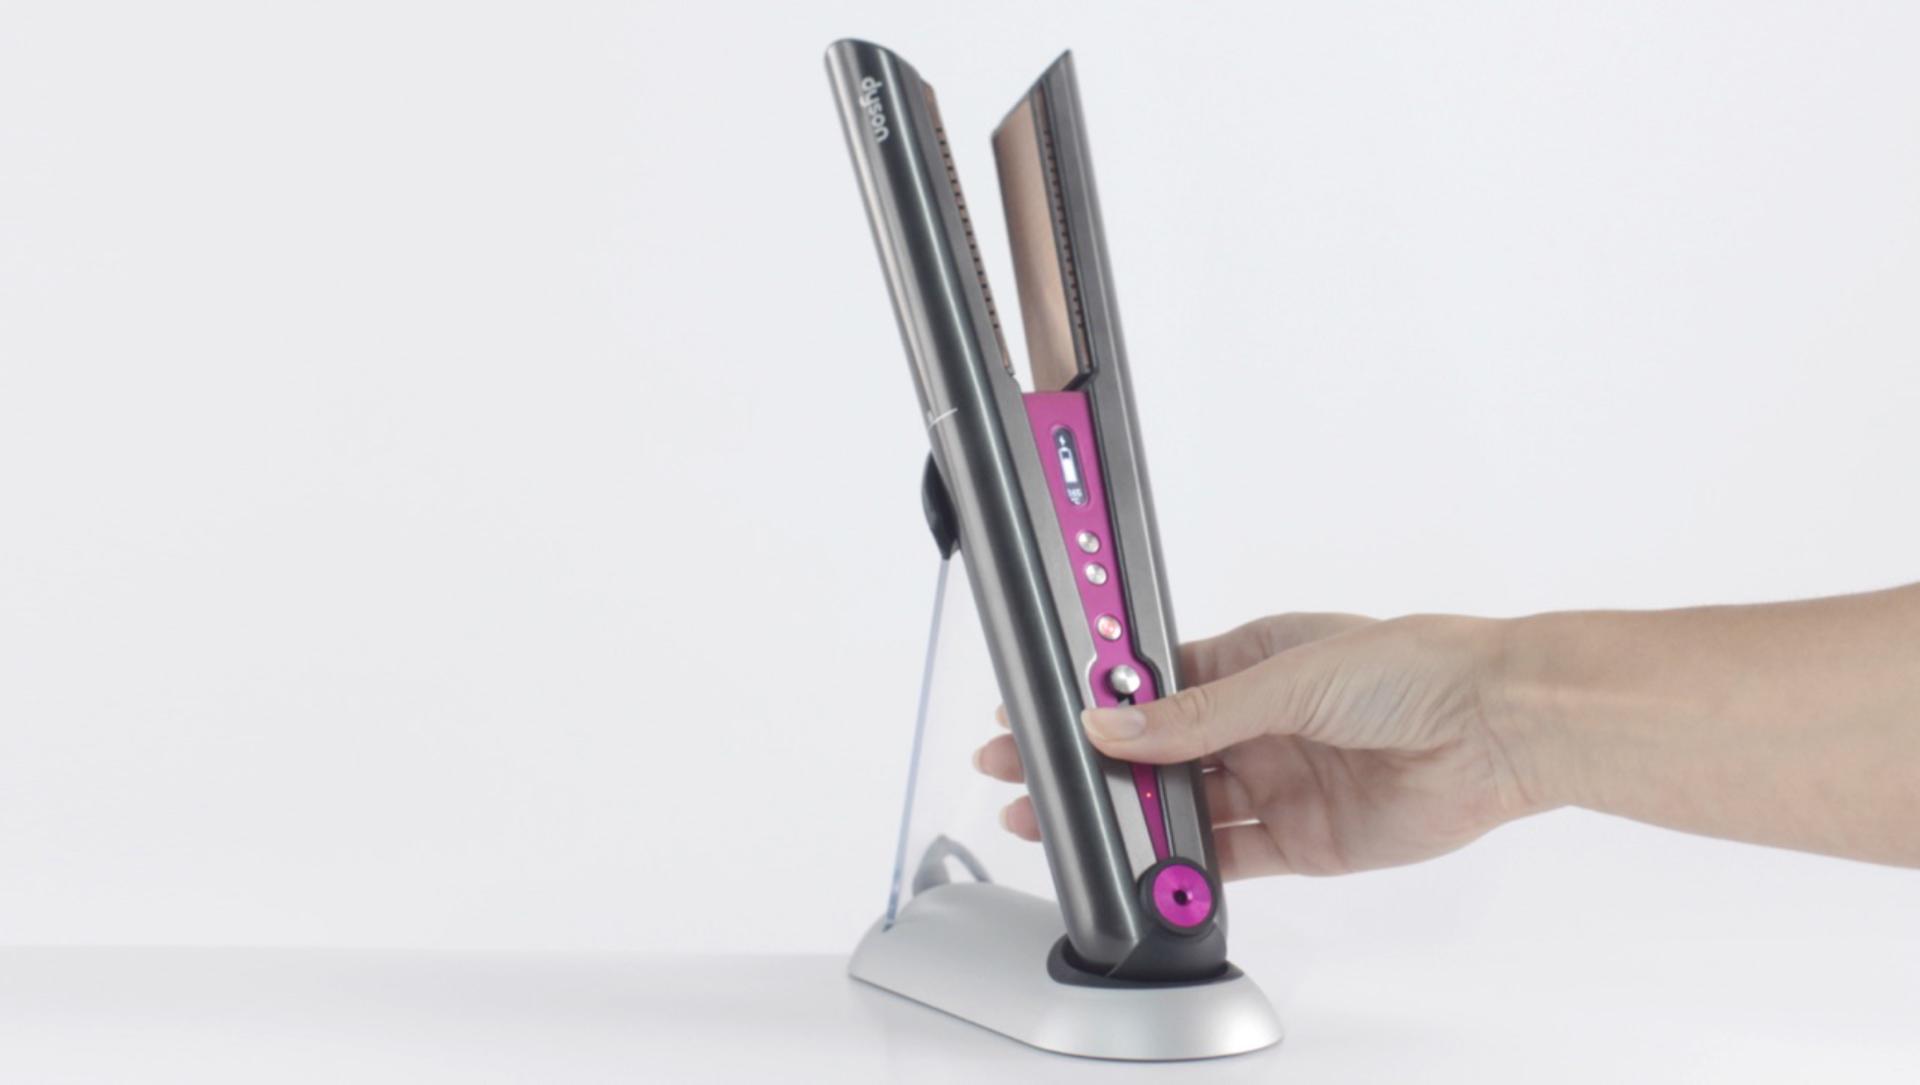
3. Fully charge your straightener
To maximise cordless run time, always fully charge your straightener before using it. For further tips on how to maximise run time, see our section below.
-
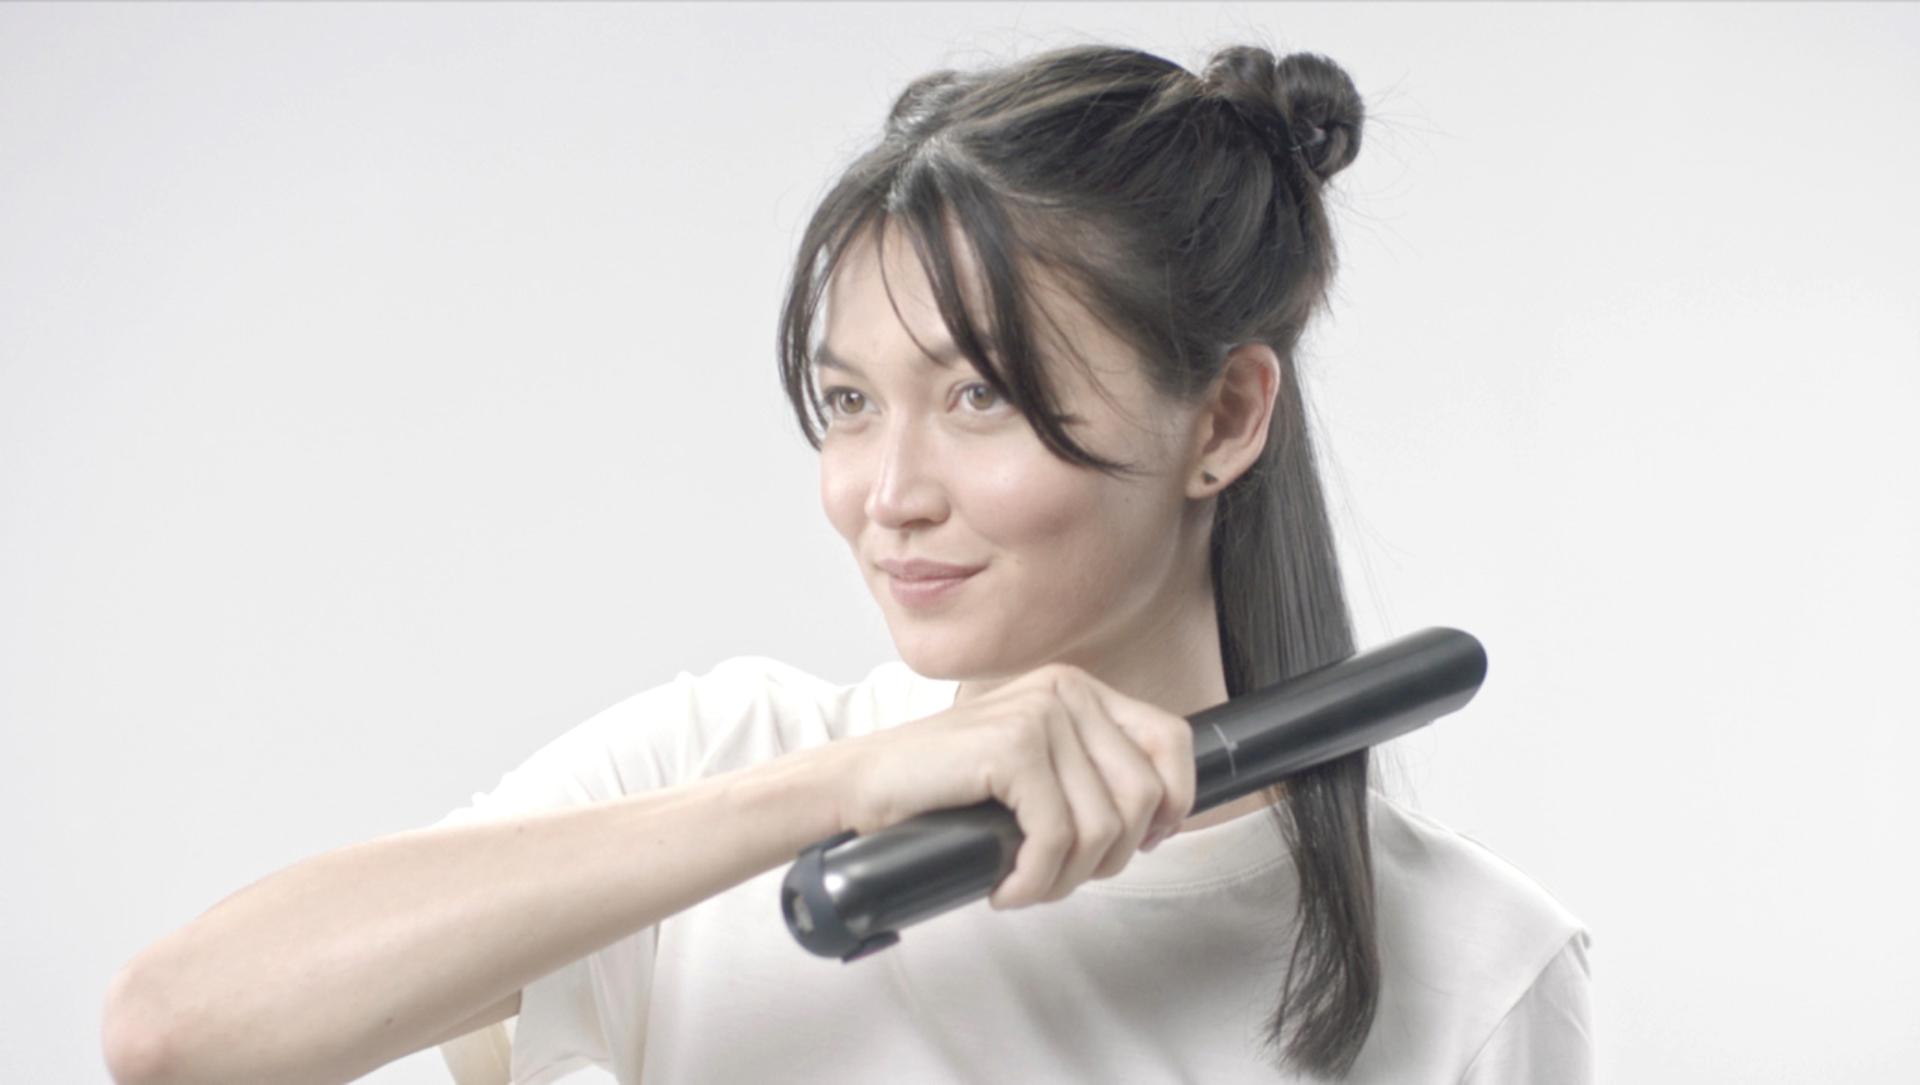
4. Prepare your hair for styling
Your hair should be dry before you style. To get the best results, make sure it's also tangle-free.
-
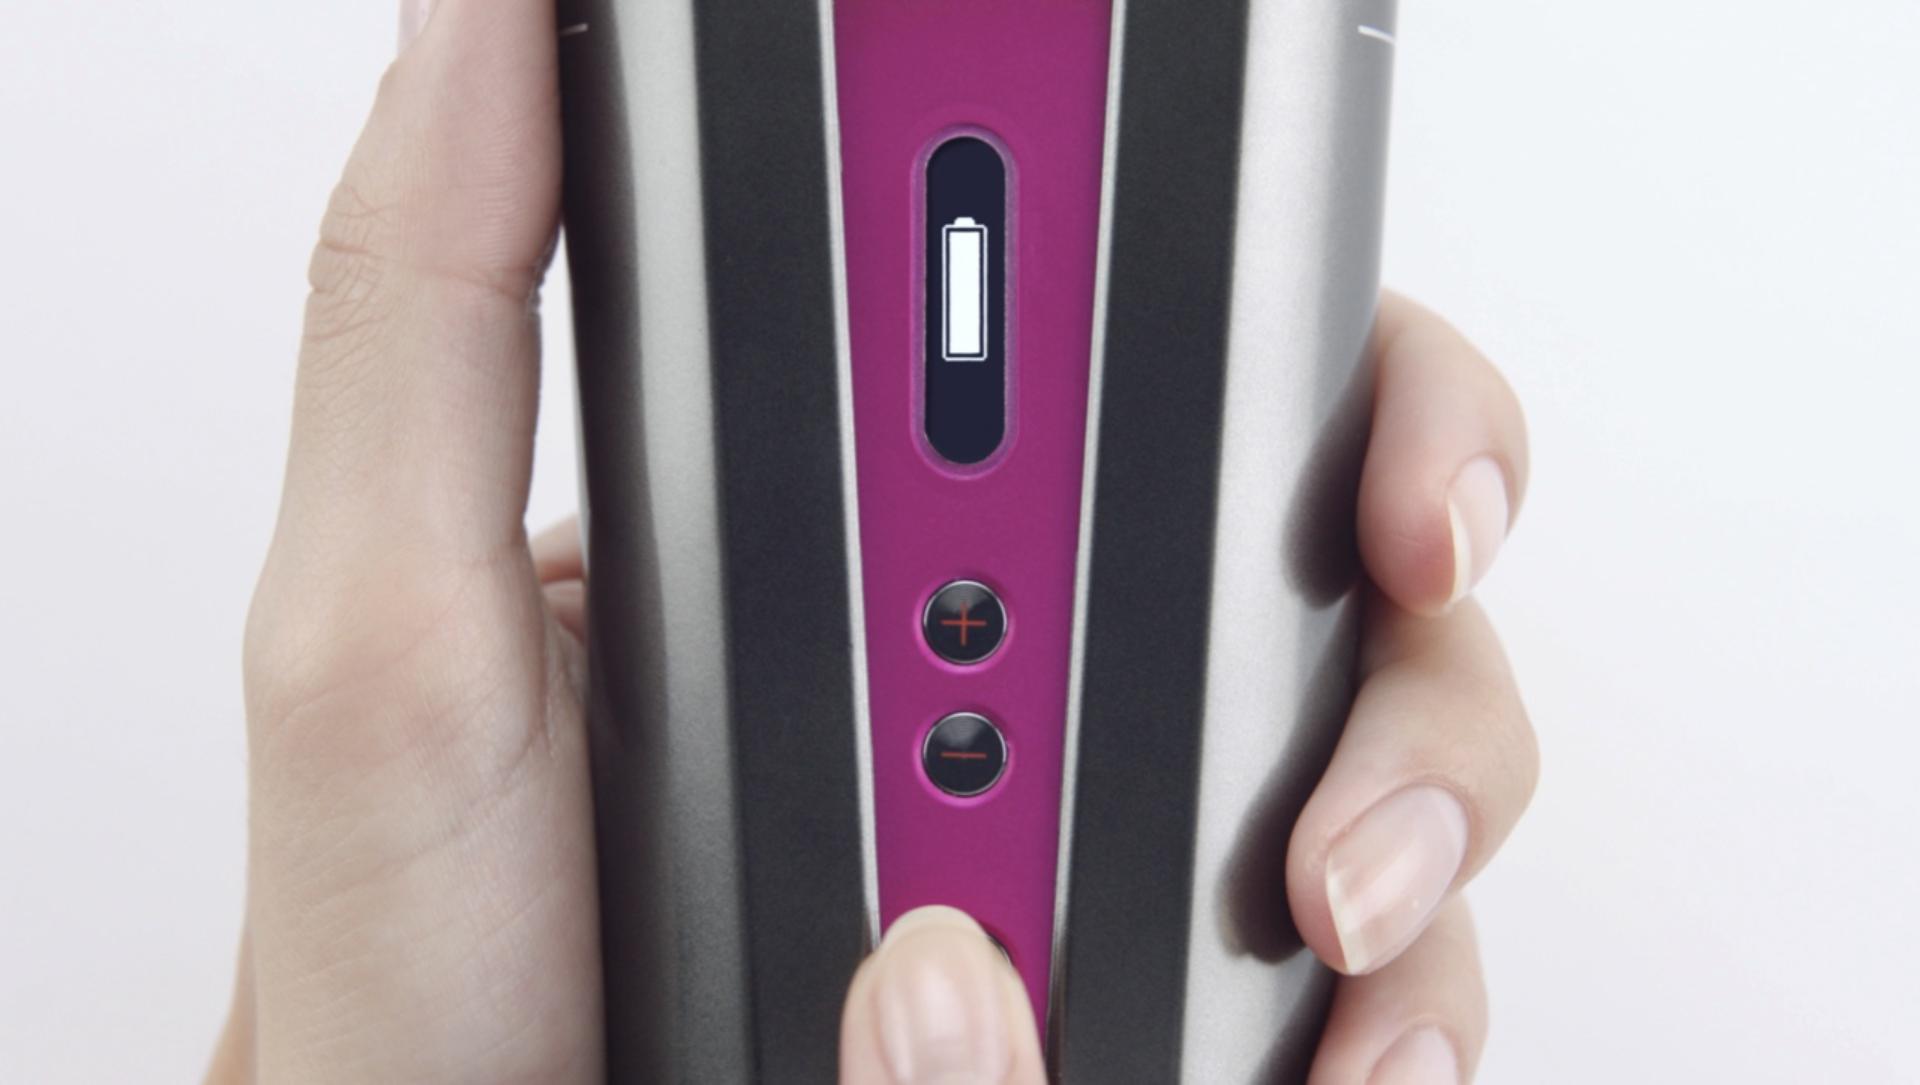
5. Turn your straightener on
Press and hold the Power button until a battery icon appears on the screen.
-
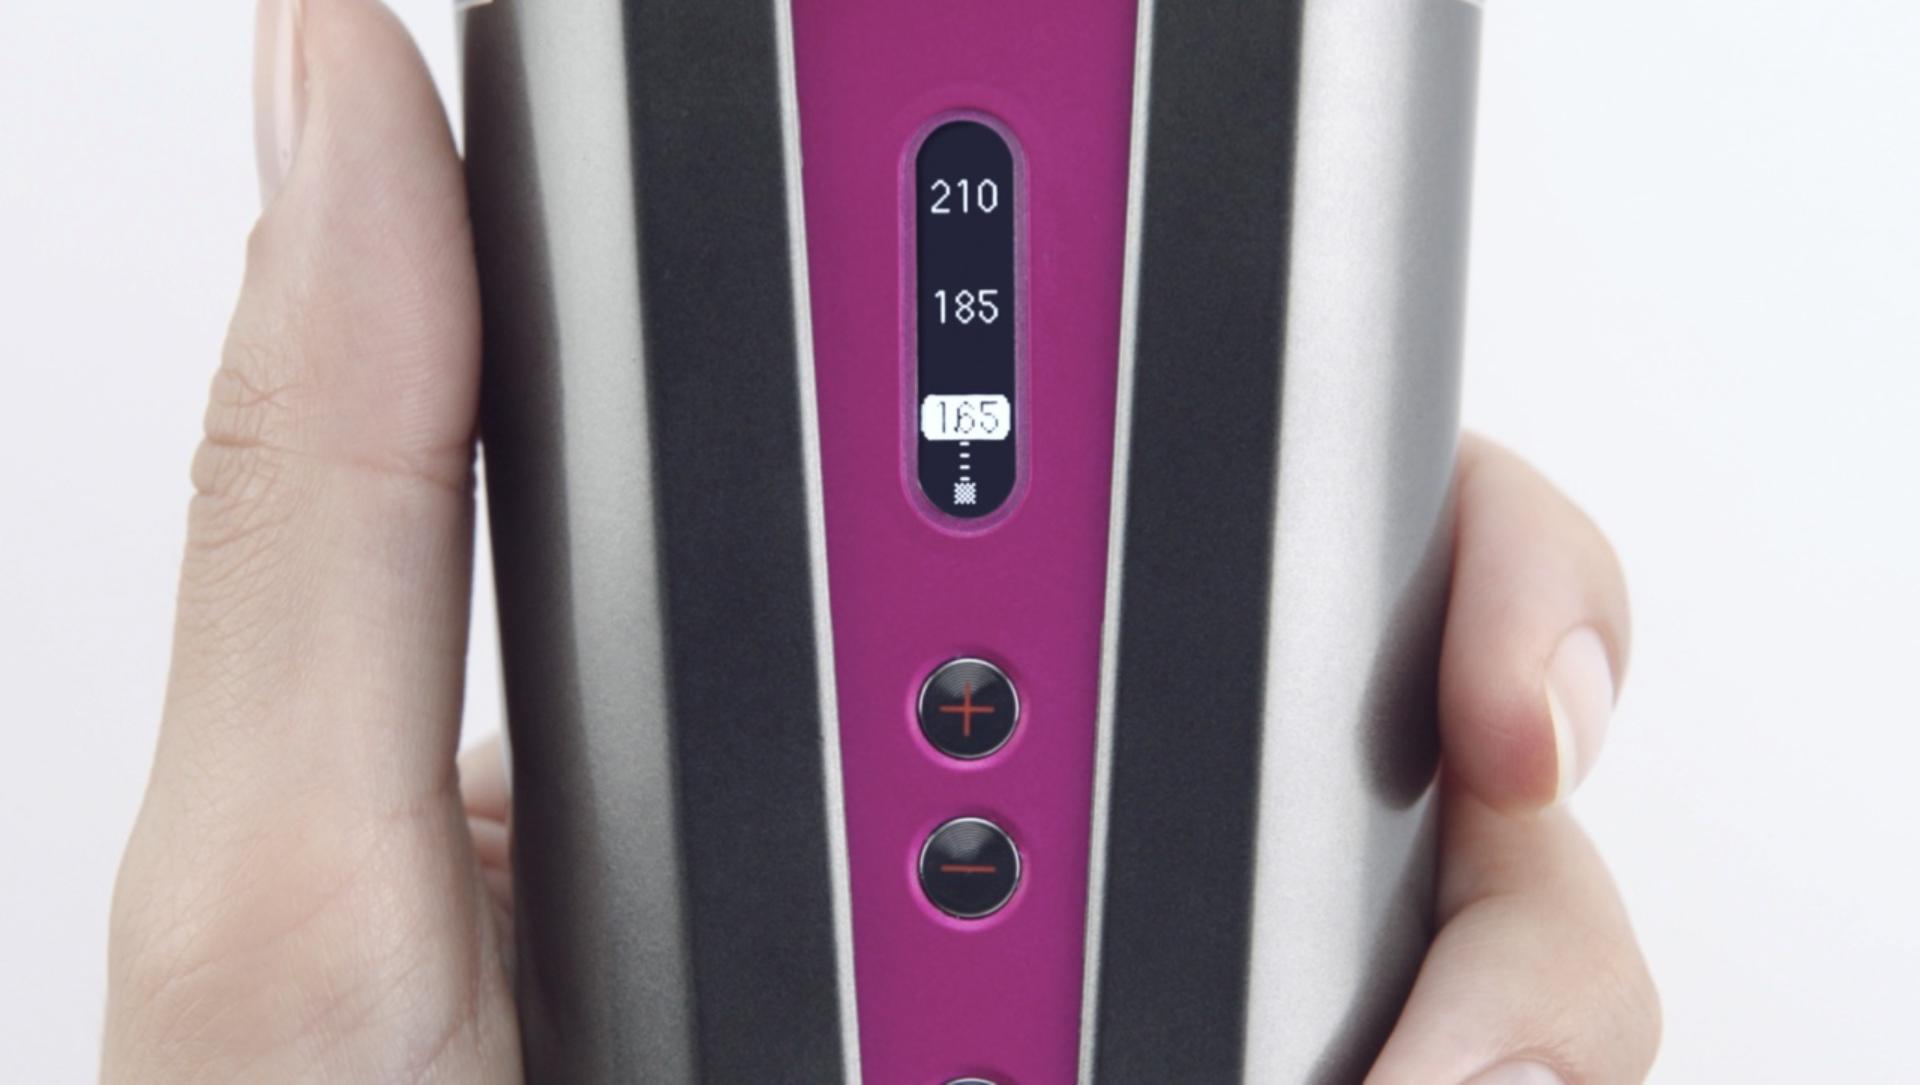
6. Choose your temperature
The flexing plates enable enhanced styling with less heat for less hair damage1, so we recommend you try the lowest setting of 165°C first. If you feel you need more heat for your hair type, length or desired style, you can increase the temperature to 185°C or 210°C.
Six tips to help maximise run time
- For maximum run time, start styling from full charge.
- Place in the dock between passes, to help boost charge.
- Try slow, even passes for more battery-efficient styling.
- If your battery is running low, connect the cable while styling for use in Hybrid charge mode.
- For longer styling sessions use Hybrid charge mode. Start from fully-charged and keep the cable connected.
- Once finished, connect the cable or place on the dock to charge – ready for your next styling session.
Hybrid charge mode explained
In Hybrid charge mode, your straightener adapts its power source. While heating up and styling on your hair, it draws power from the battery and cable. Between passes, when the plates aren’t touching your hair, the cable charges the battery to help give you a longer run time. We recommend you fully charge between uses, so you’re always ready for your next style.
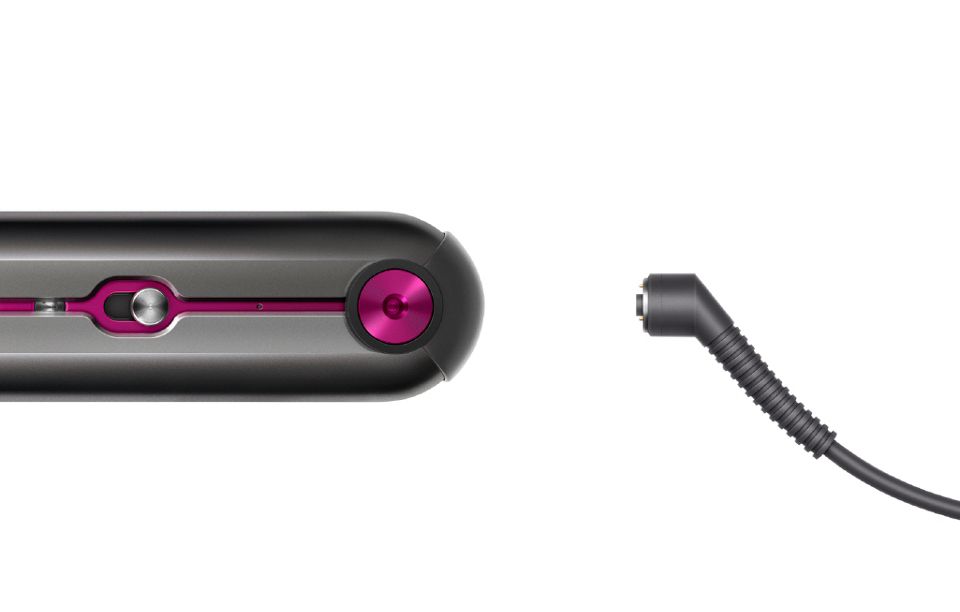
Engineered for balance in the hand
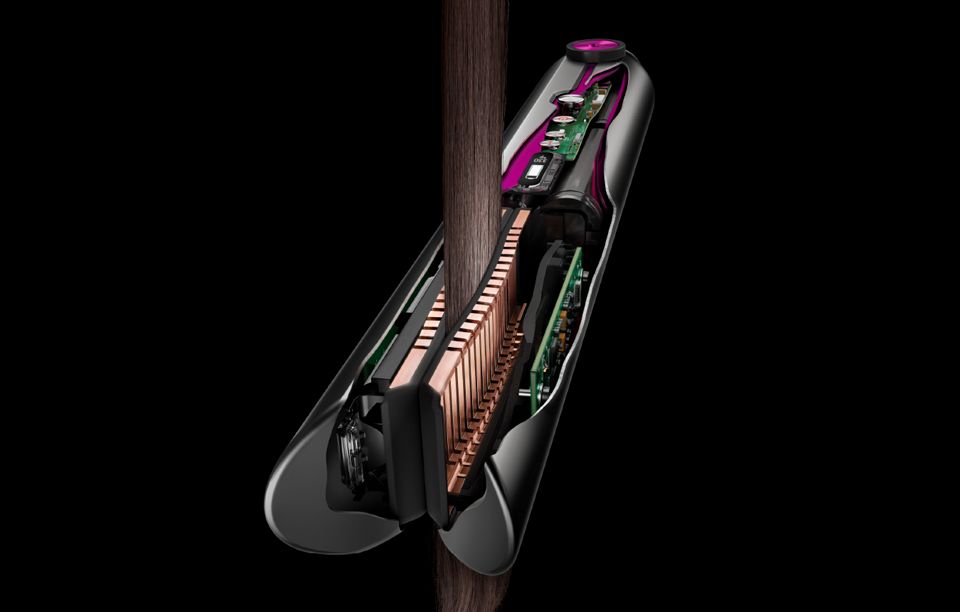
The Dyson Corrale™ straightener may seem heavier when you first pick it up. That’s because it is packed with advanced 4-cell lithium-ion battery technology, giving you maximum styling time and the thermal performance of a corded straightener. The battery’s placement is engineered to help provide balance in the hand. This helps give you maximum control while styling – without the cord.
Dyson Corrale™ straightener user manual
Download your Dyson Corrale™ straightener user manual.

3.5MB
Getting the look you want
Your straightener is engineered to create a range of styles. From a straight finish to curls, our video styling guides show you how to get the look you want. You’ll also find some helpful hints and tips on how to make the most of your Dyson Corrale™ straightener.
-
Tips for straightening different hair types
-
Straightening coily hair
-
Creating beach waves
-
Achieving true curls
-
Creating soft waves
-
Achieving flat beach waves
-
Creating C curls
-
-

Visit our YouTube channel"For more styling guides and hair science facts, you can visit our YouTube channel"

Follow @DysonHair"For the latest news and styling inspiration, follow @DysonHair on Instagram"
Flying with your straightener
International Civil Aviation Organization (ICAO) regulations state that cordless straighteners can only be carried on an aircraft if the heaters are isolated from the battery. To meet these regulations, your Dyson Corrale™ straightener has been designed with a Flight-ready tag that disconnects the battery. You need to set the black arrow on the tag to the Flight-ready position before airport security and leave it in this position throughout the flight.
You can find a step-by-step guide to flying with your straightener below. For machines that have a four-pin Flight-ready tag, support can be found here.
Please note that regulations in Japan mean you will not be able to fly in or out of any Japanese airports with your straightener.
How to fly with your straightener
If your machine has a four-pin Flight-ready tag, please follow the simple steps here.
Airline approval is required if you're traveling with a battery-powered heat-producing product. Cordless straighteners are in this category, so we recommend contacting your airline before you travel. Explain that your straightener has a Flight-ready feature which isolates the heaters from the battery, to meet ICAO regulations. To use it, follow these six simple steps:
-

1. Before packing your straightener—remove, rotate and replace the Flight-ready tag with the black arrow in the Flight-ready position.
-
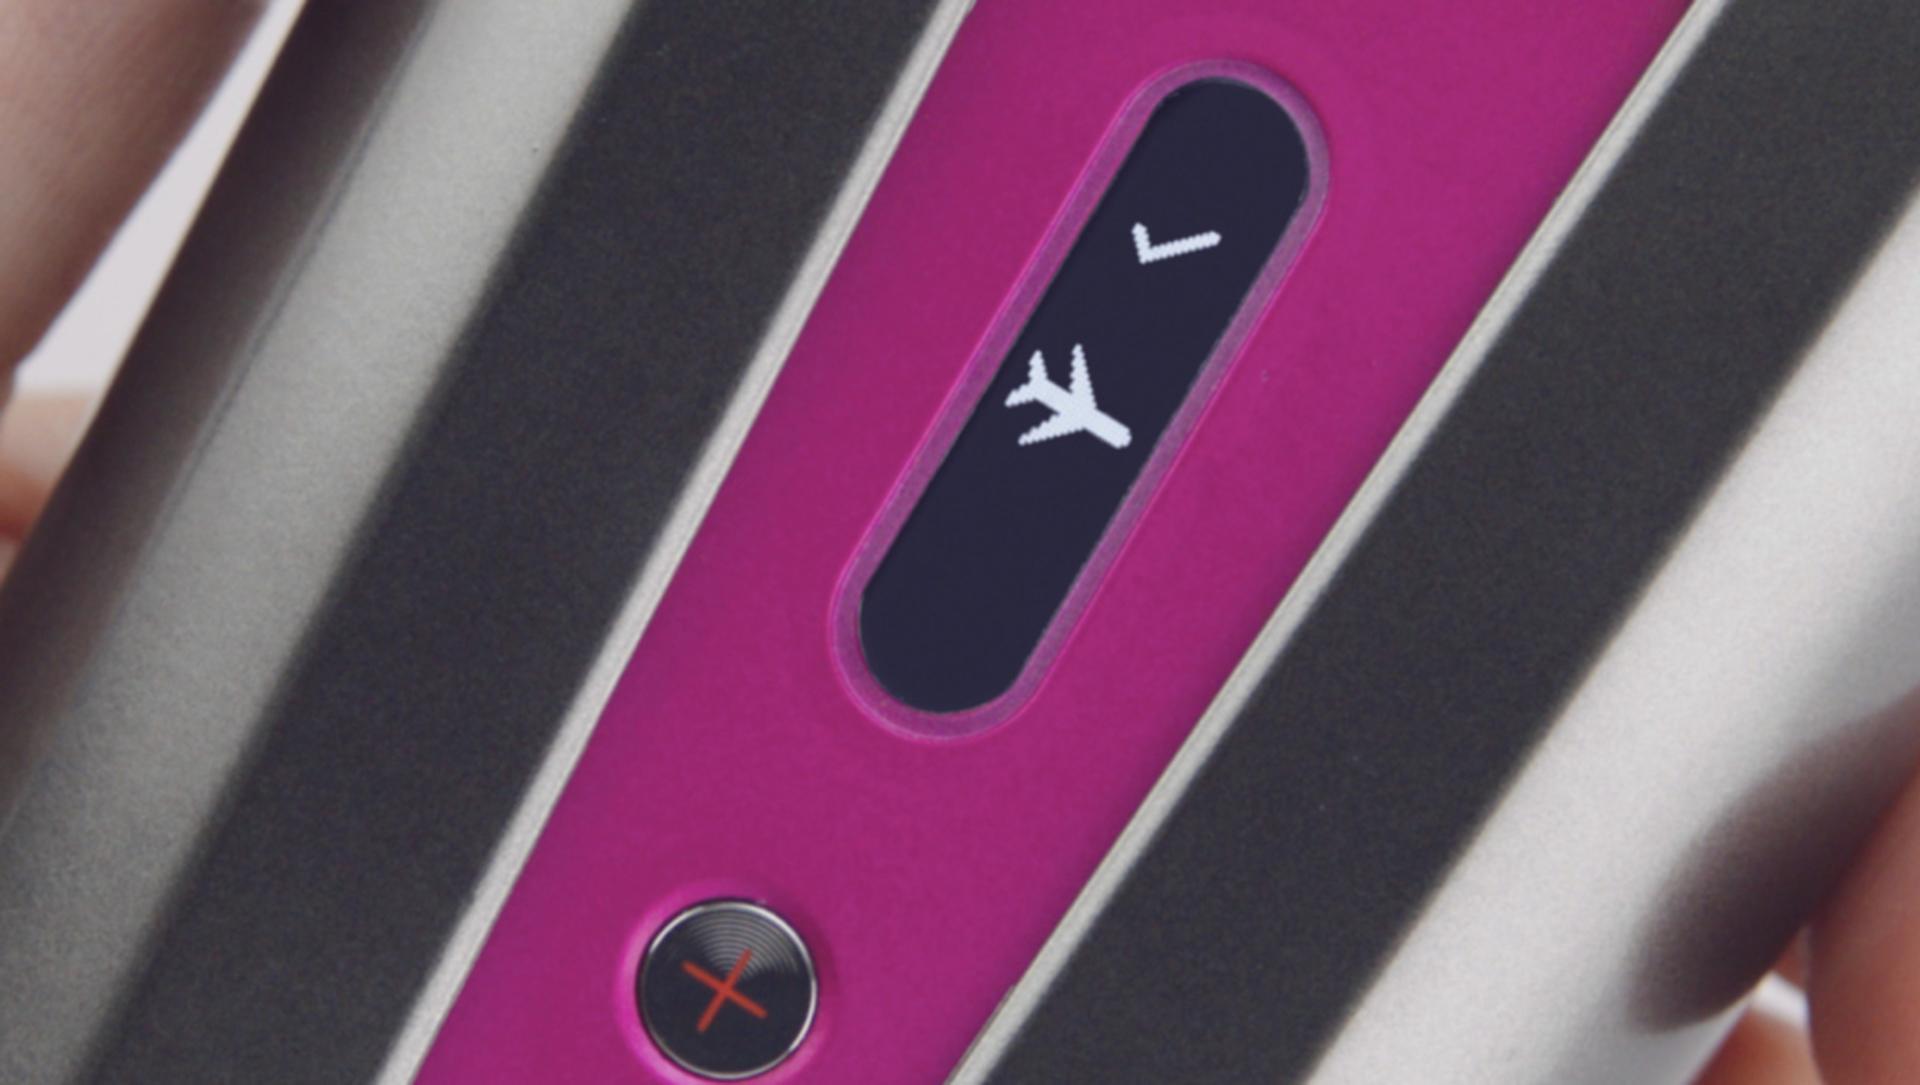
2. Press the Power button and check an aeroplane icon appears on the screen.
-
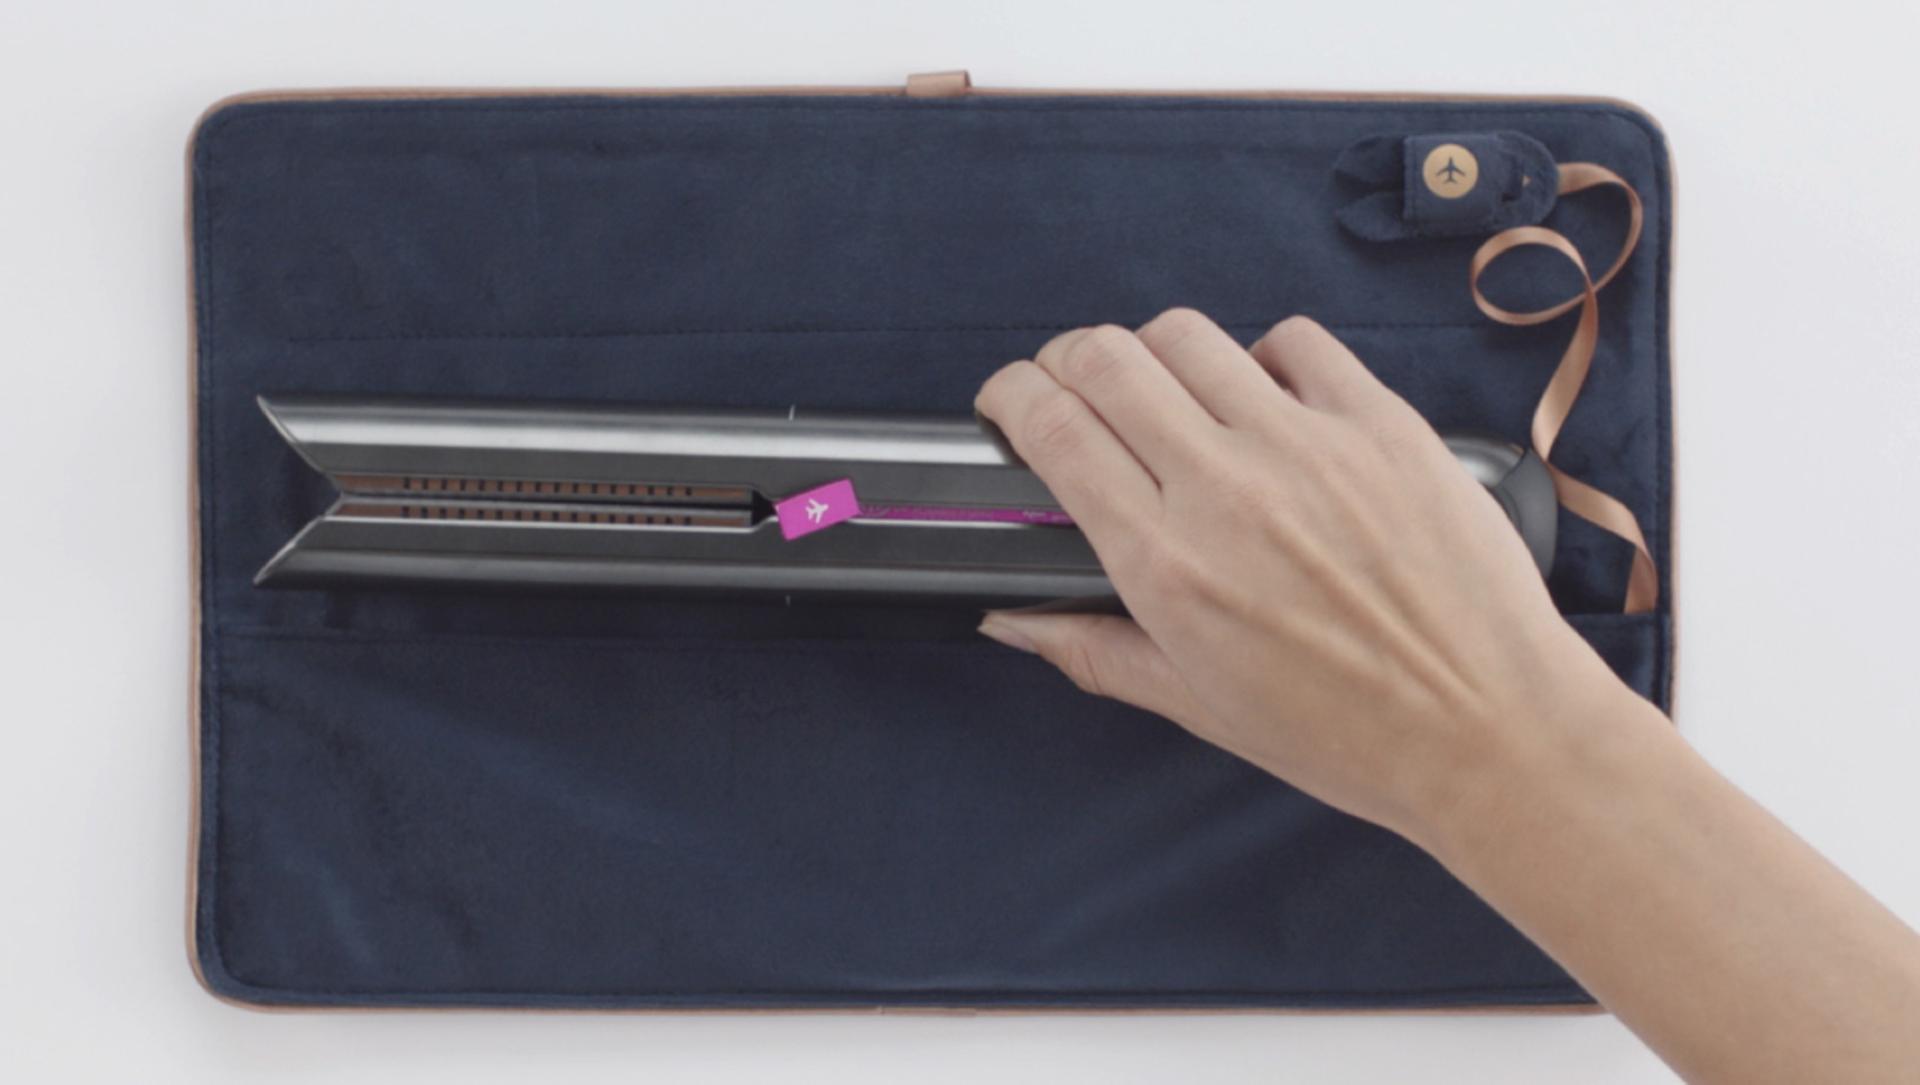
3. Close and lock your straightener, then place it in its Heat-resistant travel pouch.
-
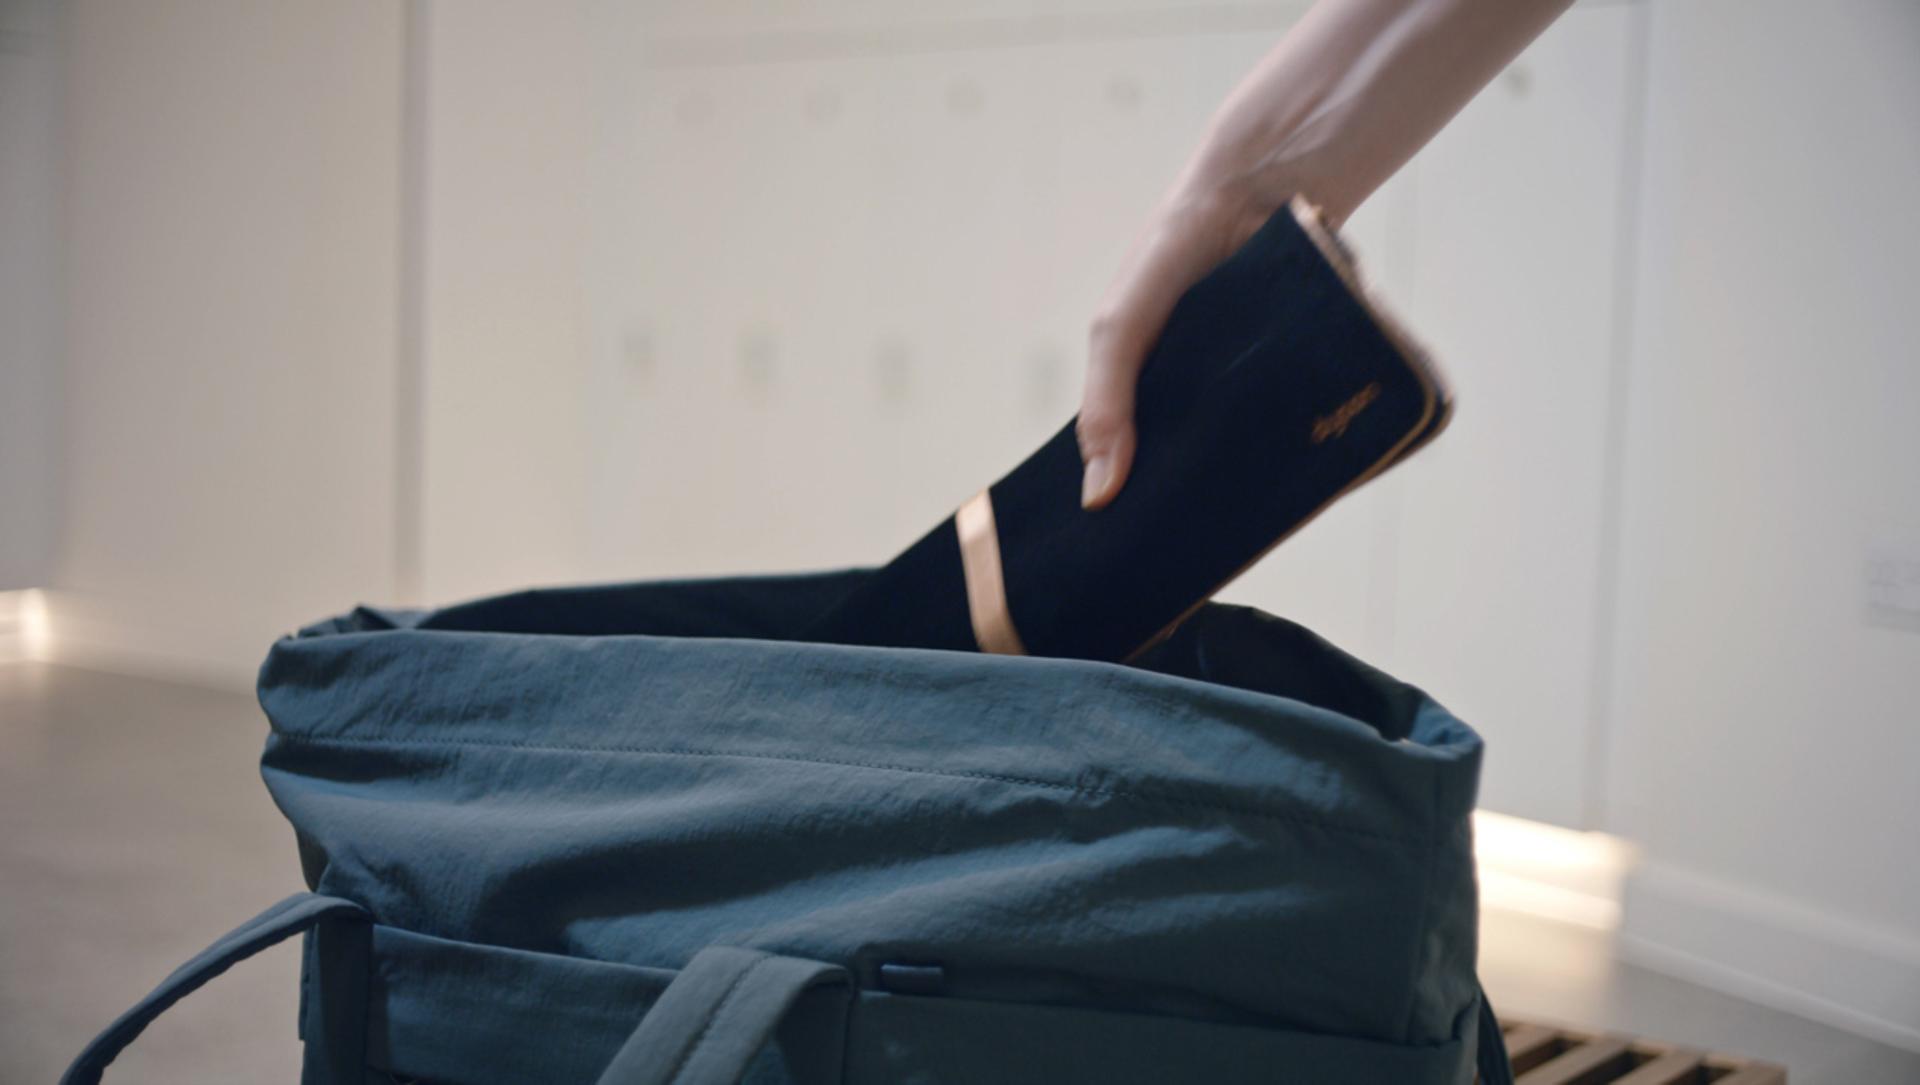
4. Store in your hand luggage, not hold luggage.
-

5. Leave the Flight-ready tag in the Flight-ready position throughout the flight.
-
 Call us
 Email us
 Request a meeting
 Live chat